
To process black walnuts...

first find a Black Walnut tree. The leaves look feathered and fade from green to yellow in Fall. I found one at a local park.

The bark has grey flat-topped ridges with dark orange seems.

If it is mid October there is a good chance you will find what look like big green tennis balls at the base of the tree. Fill your collecting basket.

Step on each green ball to separate the nut from the husk (pavement will help).

Use old shoes and wear gloves because the husk is saturated with an orange dye which will stain anything it comes into contact with (notice the stained pavement).

Back home fill a bucket with water, get a scrub brush, and scrub the inky residue off the nuts (while wearing gloves). It took a minute for me to scrub each one.

This is what the nuts looked like before...

and after.
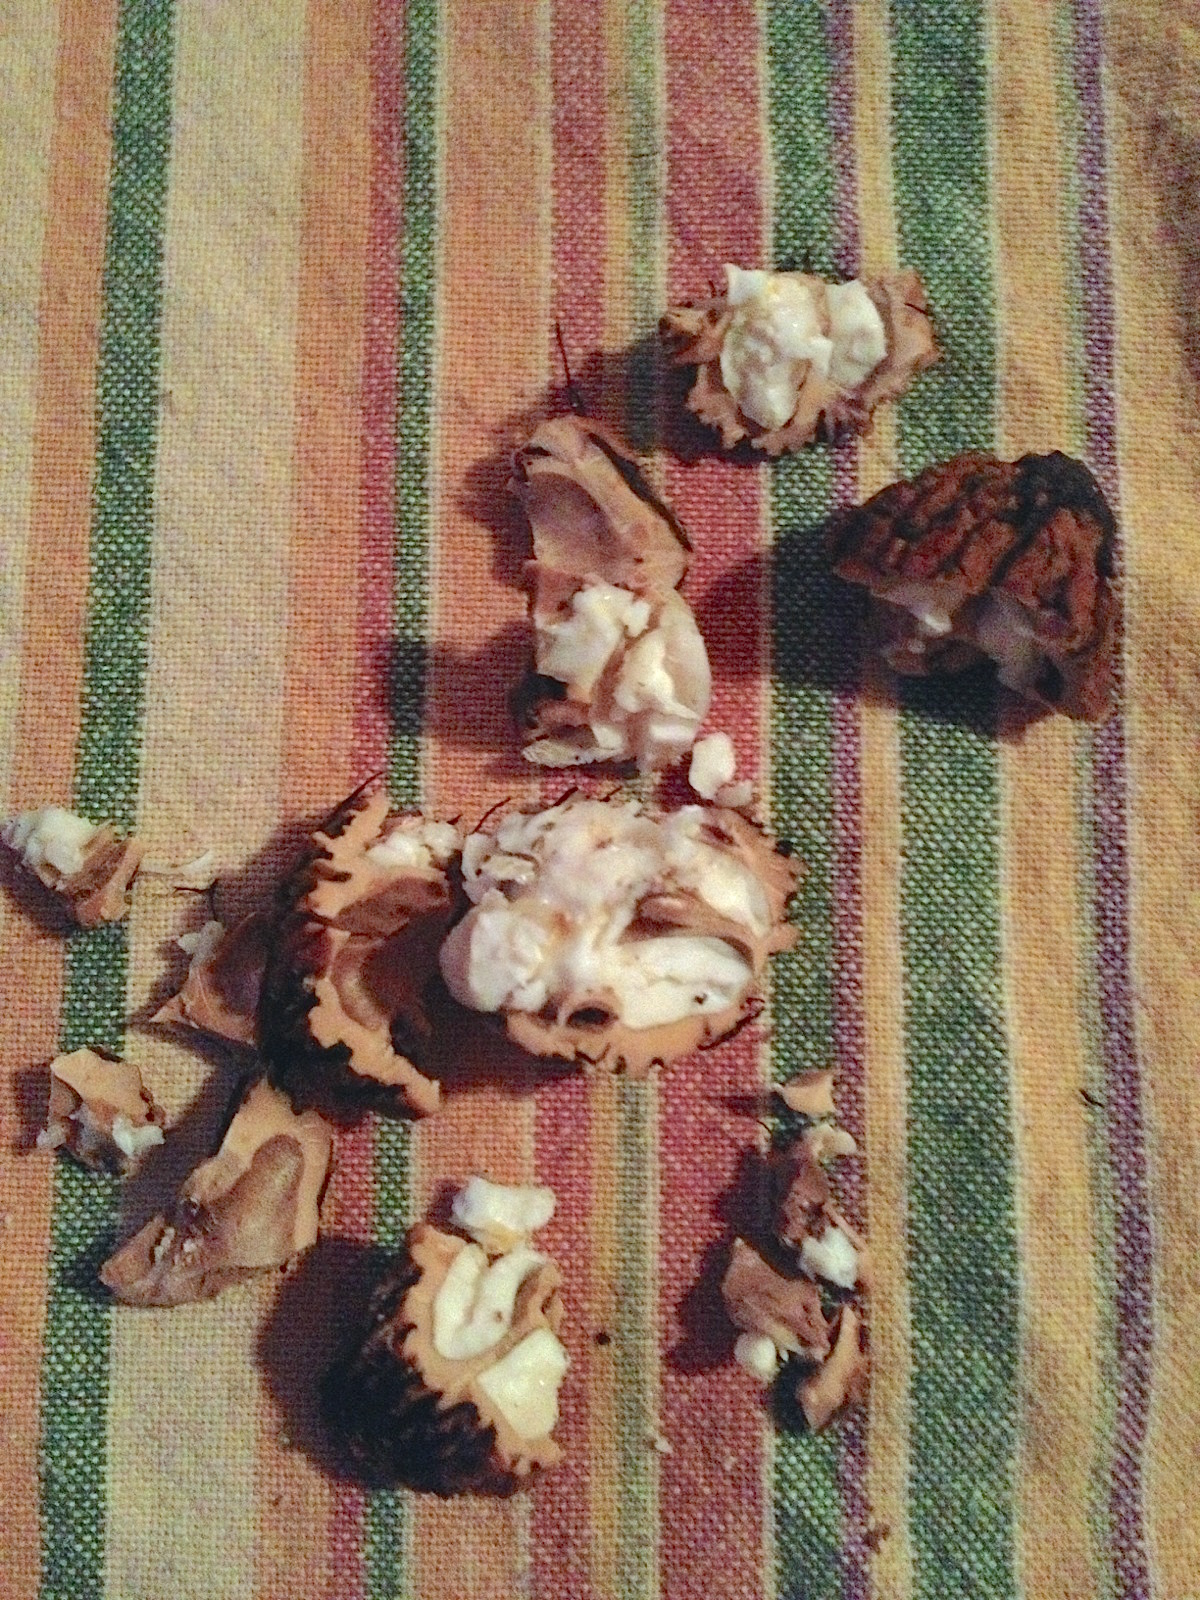
This is what a raw nut looks like cracked open...

and separated from its shell.

If you let the nut dry for at least a week the nuts inside dry and are easier to extract. This is what a cured nut looks like cracked open...

and separated from its shell.
I ended up collecting 113 black walnuts! The nut meat is packed with fats, carbohydrates, proteins, vitamins, and minerals. They smell like wine and they taste great!
No comments:
Post a Comment