Friday, December 28, 2012

Brain-Tanning a Deer Hide: Days 3 & 4

On day 3 I skipped the gym after work to scrape more hair. I have about an 8" x 1 1/2 ' long section left to do. I think it would help if my blade was sharpened.  This day was uneventful other than the fact that my heart jumped every time I heard footfalls in the kitchen. I just want to give people fair warning before they see a seemingly disturbing sight.

On day 4 I finished the hair removal and racked my hide.

Step 2: Hair Removal


Step 2: Hair Removal
 Racking the hide took a little more time than I expected. The hide is extremely tough and my attempts of using scissors and then a nail to poke holes around the outer edges of the hide failed. I ended up grabbing a sharp kitchen knife. I pressed firmly down on the blade with one hand and tugged upward on the hide with the other hand. Some areas of the hide were thin and ripped and other areas were extremely thick. I was tempted to use Slack's drill.

Step 3: Racking the hide

I am standing in front of the hide that I racked.
 This morning I saw a mouse in the garage and it saw me. It's legs and arms were spread out and clinging to the wall. I asked it to please not chew a hole through my hide. Hopefully it got the message.

Thursday, December 27, 2012

Brain-Tanning a Deer Hide: Day 2

On day 2, A.K.A. Christmas Morning at 8:00am, I was scraping away more hair. I noticed that after soaking the hide overnight in cold water, the hair was giving way to my blade much easier.

I can picture my neighbors laughing and giggling with their children over gifts under the tree Christmas morning and suddenly catching a glimpse of a girl donning a trash bag and green rubber gloves while dumping liquid out of a 5 gallon bucket in her drive way. I can see them shaking their heads and the words "What a creepy little girl," flashing on their foreheads like neon lights. 

I got about half of the hair removed when Slack came down and reminded me that the festivities would be starting soon and there were still gingerbread cookies to be made.

Have I mentioned that aside from curious neighbors I have been able to manage, thus far, stealthily?


Brain-Tanning a Deer Hide: Day 1

On day one I went to Home Depot to purchase the following supplies: tarp, sawhorse, PVC pipe, 5 gallon bucket, 16 gallon tub, screws, 3 2x4s, and rubber gloves. Next I went to Walmart to purchase a machete...did I mention this took place on Christmas Eve?

Then I went to Drew's to pick up the hide.

When I got home, I set up shop in my basement. I spread out the tarp, assembled the fleshing unit (sawhorse, 2 1/2' of PVC pipe ducktaped to the top), made myself a trash bag apron and slid on my rubber gloves.

After Slack helped my assemble the drying rack and before he went upstairs he said, "Maybe after this we can watch, 'The Texas Chainsaw Massacre,' because that's pretty much what you're doing!"

What is important to remember that what I am doing is not only an ancient art form but also a way of honoring the animal, otherwise its' hide would go to waste.

I pulled the hide out of the bag and gave thanks. Then I removed the head from the hide and froze the head in a cooler (I will be extracting the brains for the brain-tanning step later on, but in the mean time I need to keep it cold).

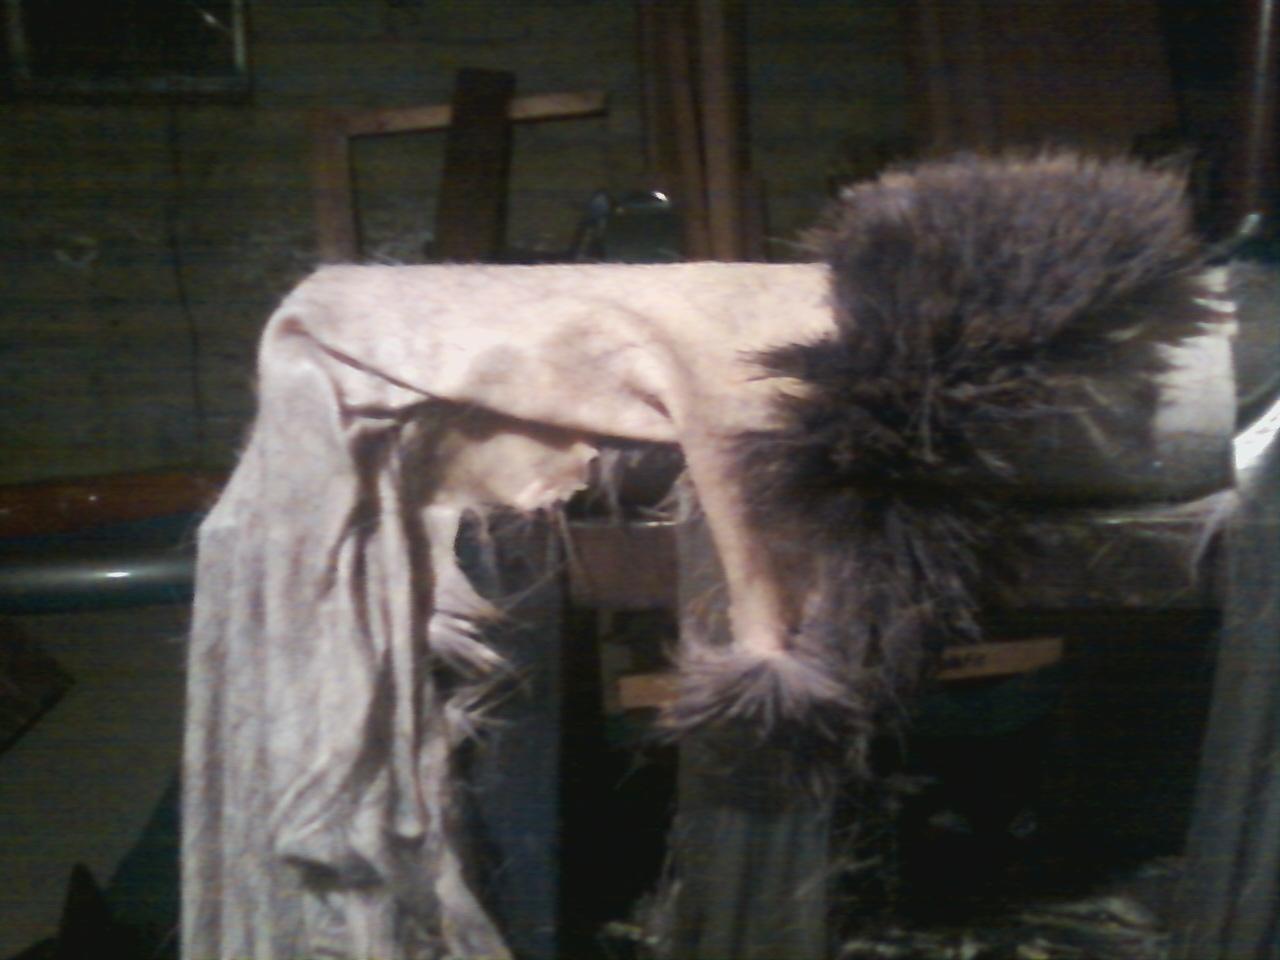
I draped the hide (flesh-side up) over the fleshing unit leaned my belly against the hide and used the machete to scrape away the fat, flesh and meat. This took about 3 hours to complete! I hold the machete perpendicular to the hides surface and scrape away from my body while leaning against the hide so that it does not slide.

Fleshing the deer hide.

I then flipped the hide over (hair-side up) and began the Hair-Removal process. This takes a lot longer (especially if you haven't prepped the hide with chemicals) and at 12:30 am Slack came down to snap a picture and to tell me that it was time for bed.

Brain Tanning a Deer Hide: Overview

I am "fleshing" a deer hide. A great way to spend Christmas Eve.

So I am attempting to brain-tan a deer hide. It's exactly how it sounds. I'm going to use the animals' brains to to turn its' hide into buckskins. Thanks be to my friend Drew for his hunting skills and his generosity.

I did not think the opportunity to do so would have come so quickly but youtube is great for getting you up to speed on ancient skills.

There are 6 steps to brain-tanning a hide:
1. Fleshing- removal of all the flesh, fat and excess meat using a sharp blade.
2. Hair-Removal (optional)-Removal of the hair. (you can speed up the hair-removal process by first soaking the hide in a lyme or wood ash solution for a few days which loosens the hair follicles, but I skipped this step and opted for using a little more elbow grease.)
4. Racking-Once both the flesh and the hair has been removed you rack the hide so that it can dry out (this may take a few days depending on the humidity).
3. Scraping- Once the hide has dried the epidermis can be scraped away using sharp rounded blade so that you don't poke through the hide.
4. Brain-Tanning- it is just like it sounds. You make a solution of animals' brain and water (every animal has enough brains to tan its' own hide) in which you soak the hide. The proteins of the brain break down the proteins in the hide so that the hide loses its' elasticity.
5. Stretching-next you re-rack the hide and stretch it until it dries.
6. Smoking- finally you sew the hide into a skirt and hang it over smouldering coals. This weatherproofs the hide.

I will describe each of these steps in detail as I perform them each day.

Monday, December 17, 2012

A Little Treet

So this is how I've decided to cope with the sedentary life in a cubicle...I spend my breaks identifying trees outside my work using, "Bark; A Field Guide to Trees of the Northeast," by Michael Wojtech.

I know, you're thinking, what a nerd, but it's actually pretty fun.

It's an interesting guide because it focuses on identifying trees by their bark. Since a lot of trees in NE are deciduous-meaning they loose their leaves at the end of their growing season- after the leaves fall it is hard to identify them. This guide allows you to identify trees during any point of the year.

The forest looks a whole lot more interesting once you become aware of bark. Is it smooth, furrowed, scale-like, does it have curly strips? Did you know that trees have pores just like our skin? They are called lenticles and they can been circular, diamond shaped or rectangular.

Being able to identify trees is important because you can use them for materials, food and to locate animals. One of my favorite trees is a black birch. It has smooth grey bark and horizontal lenticels. When you scratch the bark it smells like wintergreen and root beer.

Trees are cool. Why not go out on a limb and try and identify some?